
How to compress files into 7-zip (7z) archives?
In This Article
This article describes how to compress files or entire folders into 7-Zip archives.
7-Zip file archives are normally created using the free 7-Zip file archiver, written by Igor Pavlov and featuring a high compression ratio (especially thanks to its LZMA2 method). Go to www.7-zip.org for more information.
You can also create 7-Zip archives with Paquet Builder.
Requirements
Section titled “Requirements”You need Paquet Builder, Freeware or Registered Edition.
Paquet Builder can convert 7-Zip, Cabinet and Zip archives into simple or advanced Self-Extractors in .exe format. It can also create .7z, .cab and .zip files itself.
How to compress my files into a 7-Zip archive
Section titled “How to compress my files into a 7-Zip archive”-
Open Paquet Builder and on the welcome page, click Start a new project.

-
On the New Project page, choose Archive File.

Click Continue.
-
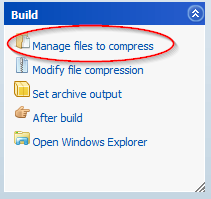
A new project is started. In the navigation panel on the left, click Manage files to compress.
-
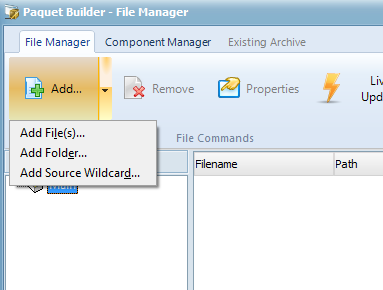
In the File Manager window, click Add… and select Add File(s) or Add Folder if you want to archive an entire folder.
-
In the Open File dialog, select the files you want to archive and click Open.
The files are added to the list. Continue adding files or folders as needed, then click OK to close the File Manager.
-
Click Build in the toolbar and specify the filename for the 7z archive.

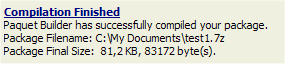
When your archive is created, you can see the compilation details in the output log:
Adjust Compression and Rebuild
Section titled “Adjust Compression and Rebuild”- Files and folders: add entire groups of files, folders or source wildcards.
- Relative paths: choose Modify file compression to configure how paths are stored in the archive.
- Compression level: choose Modify file compression to select a predefined level, from Fast to Ultra.
Save a project file (.pbpx) to rebuild the archive later. You can also compile it directly from Windows Explorer: right-click the .pbpx file and select Compile.